
How to Start Embroidering Old Clothes
Learn how to start embroidering old clothes with beginner stitches, essential tools, and easy starter projects to customise your wardrobe sustainably.
CRAFT & REPAIR
8/14/20252 min read
There’s a quiet kind of magic in bringing a garment back to life with your own hands. A faded denim jacket pocket suddenly blooms with flowers. A plain shirt collar is edged with tiny stars. The process is slow, intentional, and - best of all - you don’t need to be an expert to start.
Embroidery is one of the simplest, most affordable ways to refresh tired clothes, add personality to your wardrobe, and learn a soothing, creative skill. Whether you want to cover a stain, mend a worn patch, or simply make your outfit yours, a needle and some thread can do wonders.
Why Embroidery?
Fast fashion thrives on disposability. By adding embroidery to a garment you already own, you extend its life, cut waste, and create something entirely unique. It’s a form of slow fashion that is both practical and personal - and it’s easier to start than most people think.
Essential Materials for Beginners
You can start with just a few inexpensive tools:
Embroidery hoop - Keeps your fabric taut so stitches stay neat.
Embroidery needles - Slightly longer and sharper than regular sewing needles.
Threads - Soft cotton embroidery floss is standard; organic cotton is an eco-friendly upgrade.
Fabric marking pen - Lets you trace or sketch your design before stitching.
Small sharp scissors - For trimming threads cleanly.
Simple Stitches to Learn First
You don’t need to master dozens of stitches to make something beautiful. These three are perfect for beginners:
Running Stitch - Great for outlines and simple borders.
Backstitch - Ideal for clean, continuous lines.
Satin Stitch - Perfect for filling in shapes with colour.
There are countless tutorials online, but nothing beats practicing on a scrap of fabric before moving to your garment.
Best First Projects: Pockets & Collars
When you’re new, choose areas that are small, flat, and easy to access:
Jacket pockets - Embroider just the pocket flap or the entire pocket for a bold look.
Shirt collars - Add a row of delicate flowers or geometric shapes along the edge.
Jeans cuffs - Stitch a colourful border on the inside hem for a hidden pop of personality.
Pro tip: Start with simple, repeatable patterns - think stars, leaves, or dots - before moving on to more complex designs.
Tips for Success
Keep it taut - Loosely hooped fabric can cause puckering.
Don’t pull too tight - Over-tightening stitches can warp the fabric.
Start small - A five-minute project is better than an abandoned masterpiece.
Wash and press after - This helps your stitches settle neatly into the fabric.
Final Thought: Embroidery isn’t about perfection - it’s about connection. Every stitch you make is a tiny investment of time, care, and creativity. Your jacket, shirt, or jeans will carry those marks proudly, becoming more than just clothes - they’ll be your work of art.
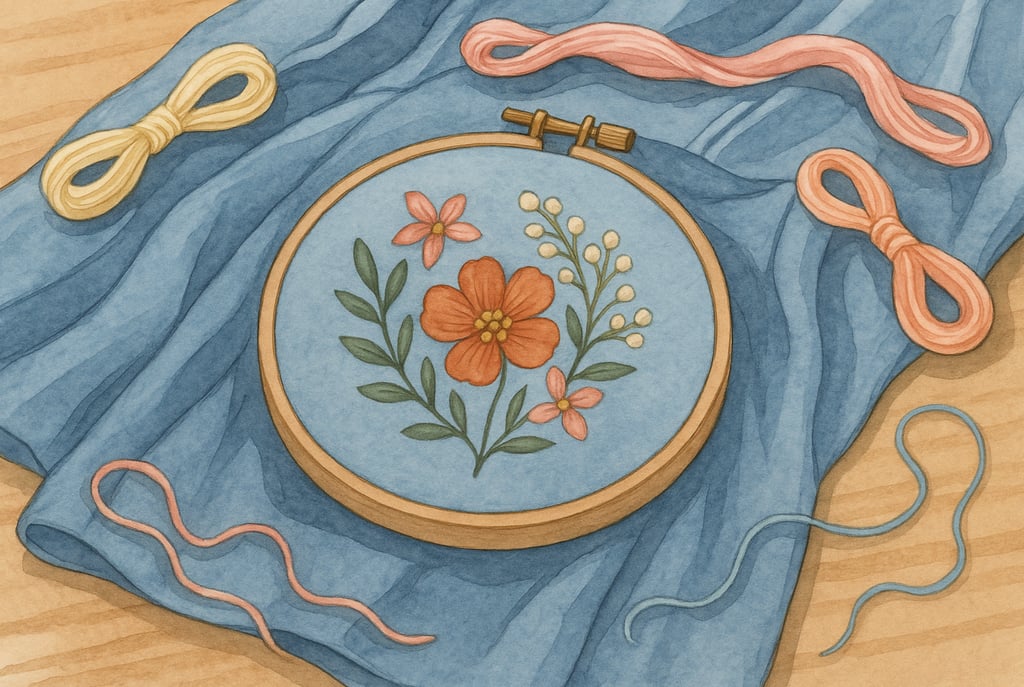
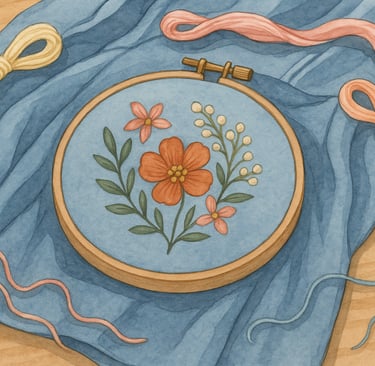
Image Concept:
Close-up of a denim jacket pocket held taut in an embroidery hoop. Soft pastel threads spill loosely around the scene on a natural wood tabletop. Muted daylight streams in from the side, creating a calm, accessible mood.